Mobile devices generate more than 60% of global internet traffic today. Our smartphones have become the center of our digital lives, which makes them attractive targets for cryptocurrency theft.
Apple’s iOS wallets provide robust app-level security, but some concerning events have shown that fake crypto wallet apps can slip through Apple’s review process. A notable example involved a fake Trezor app that caused users to lose more than $1.6 million.
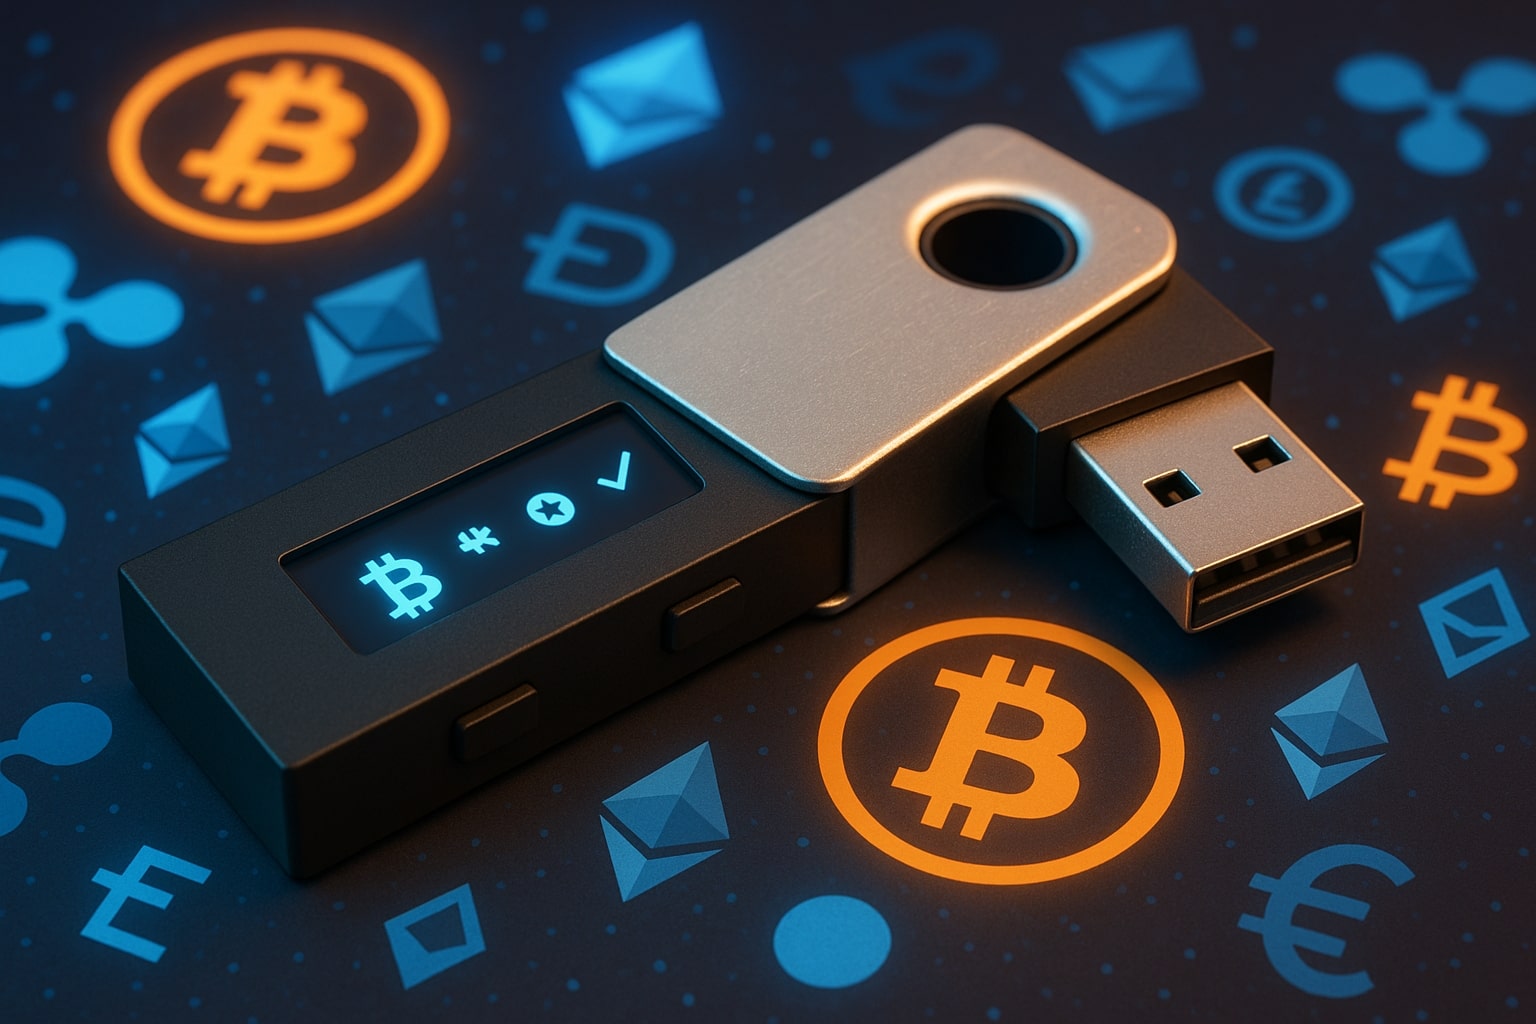
This reality has made hardware wallets a must-have for serious crypto users. Hardware wallets differ from software wallets because they keep your private cryptographic keys offline in “cold storage” and away from online threats. These devices don’t actually hold your coins – they protect the keys that prove you own them.
Apple users need to know how to properly set up and use these hardware wallets. Some new solutions use your device’s Secure Enclave to turn your iPhone into a hardware wallet.
We’ll cover all aspects of hardware wallets for your Apple devices. You’ll learn what they are and how to set them up safely. This guide will help you protect and control your crypto assets effectively.
Understanding Hardware Wallets for Apple Users

Image Source: Bitcoin Magazine
“Hardware wallets are non-custodial, but they store your keys on a physical device that you can connect to your computer or phone through a USB plugin, WiFi or QR code.” — Chris Davis, Senior Writer, NerdWallet (specializes in personal finance and crypto security)
Hardware wallets are physical devices that keep your crypto’s private keys completely offline. These small devices look like USB drives and act as secure vaults for your digital assets’ access codes.
Software wallets stay connected to the internet, but hardware wallets protect your private keys in an isolated environment, which substantially reduces vulnerability to online threats. Your cryptocurrency isn’t actually stored in these devices – they protect the cryptographic keys that prove your ownership and authorize transactions.
Apple device users can enjoy exceptional security with hardware wallets through companion applications. Ledger and other leading manufacturers have created iOS-compatible solutions with various connectivity options:
- USB-C models connect directly to newer iPhones with compatible ports
- Bluetooth-enabled models pair wirelessly with all iOS devices
Your hardware wallet works with Apple devices through these simple steps:
- Install the manufacturer’s companion app from the App Store
- Pair your hardware device with your iPhone or Mac
- View your portfolio and prepare transactions on your Apple device
- Physically confirm transactions on the hardware wallet itself
This security-focused approach lets you manage transactions conveniently while your private keys stay protected in the hardware wallet’s secure environment – even if someone compromises your Apple device.
Step-by-Step Setup Guide for iPhone and Mac

Image Source: Bitcoin Magazine
Apple device users need specific steps to set up their hardware wallets. Apple’s MFi program restrictions limit iPhone’s connectivity options. Users cannot make direct USB connections between Ledger devices and iPhone ports, even with newer models’ USB-C ports.
The Ledger Nano X works with iPhones through Bluetooth because it has wireless capabilities. Android phones support USB connections with Ledger Nano S and Nano S Plus, but these models won’t connect to iPhones.
Mac users should follow these setup steps:
- Connect your Ledger device to your Mac using the appropriate cable (USB-C to USB-C for newer models)
- Download Ledger Live from ledger.com (requires macOS 10.14 or later)
- MacBook Air users might need a Micro-USB to USB-C adapter
- Install Ledger Live by dragging the downloaded .dmg file to Applications
- Launch the app and follow on-screen instructions to configure your device
Your hardware wallet’s first connection triggers a “genuine check” – a cryptographic verification that proves your device’s authenticity. This security check runs during the original setup and each time you connect to Ledger Live automatically.
Your device’s security depends on buying hardware wallets from official channels or authorized resellers only.
Using and Securing Your Crypto Hardware Wallet
“When you create an account, remember to write down your 12- or 24-word seed phrase and keep it in a safe place.” — Chris Davis, Senior Writer, NerdWallet
Your cryptocurrency investments need proper security after setting up a hardware wallet. Cold storage will keep your private keys offline, which makes it almost impossible for hackers to remotely access your assets.
Here’s how to protect your hardware wallet:
- Your seed phrase (12-24 randomized words) must be stored on paper or metal plates—never in digital form. This master key helps you recover access if your device gets lost or damaged.
- A fireproof safe or bank deposit box should house your hardware wallet to prevent theft or damage.
- Your wallet’s firmware needs regular updates to fix security vulnerabilities.
The hardware wallet signs transactions offline. You’ll need to connect the device and check transaction details on the wallet’s screen instead of your computer. Physical confirmation happens right on the device. This approach stops clipboard malware from changing recipient addresses.
You might want to use different wallets for different needs. A “cold wallet” that never connects to unverified apps works best for long-term storage. Another wallet with minimal funds can handle experimental interactions. This split approach will give a safety net even if one wallet gets compromised.
Note that your seed phrase must stay private. Download software only from official sources and test your recovery process regularly.
Conclusion
Hardware wallets are the gold standard for cryptocurrency security, especially for Apple users who want both convenience and protection. This piece shows how these physical devices keep your private keys completely offline and shield them from potential online threats.
Your cryptocurrency experience needs proper security measures right from the start. The setup process might look complicated at first, but our step-by-step guide makes this essential security measure available to all iPhone and Mac users.
Note that your seed phrase is the most important part of your wallet’s security. You must keep this 12-24 word combination on paper and store it safely away from any digital devices. It also helps to buy hardware wallets only from official channels to avoid compromised devices.
Security goes beyond the original setup. Regular firmware updates, checking transactions on the device, and using separate wallets for different purposes create a complete security strategy. These steps keep your digital assets safe as cryptocurrency threats continue to evolve.
Hardware wallets give Apple users the perfect mix of security and ease of use. While some iPhone models have connection limits, Bluetooth-enabled wallets help bridge this gap effectively.
A small investment in a hardware wallet brings great peace of mind compared to possible losses from compromised software wallets. As cryptocurrency becomes more mainstream, proper hardware wallet management will definitely become a crucial skill for every serious crypto investor.
Key Takeaways
Setting up a hardware wallet on Apple devices requires specific steps but provides unmatched security for your cryptocurrency investments. Here are the essential insights every Apple user should know:
• Hardware wallets store private keys offline, protecting your crypto from internet-based threats that have compromised even App Store-approved wallet apps • iPhone users must use Bluetooth-enabled models like Ledger Nano X, as direct USB connections aren’t supported due to Apple’s MFi restrictions • Your 12-24 word seed phrase is your master key – write it down on paper or metal plates and store it securely, never digitally • Always buy from official channels only to avoid compromised devices, and verify authenticity through the automatic “genuine check” process • Use separate wallets for different purposes – keep a “cold wallet” for long-term storage and another with minimal funds for transactions
The investment in a hardware wallet provides essential protection as cryptocurrency adoption grows. While setup may seem complex initially, following proper security practices ensures your digital assets remain safe from evolving online threats.
FAQs
Q1. How do I set up a hardware wallet for my iPhone? To set up a hardware wallet for your iPhone, choose a Bluetooth-enabled model like the Ledger Nano X. Download the manufacturer’s companion app from the App Store, pair your device wirelessly, and follow the in-app instructions to generate and securely back up your recovery phrase.
Q2. What are the main advantages of using a hardware wallet? Hardware wallets offer superior security by storing your private keys offline, protecting them from online threats. They provide a physical confirmation step for transactions, making them resistant to malware and hacking attempts. Additionally, they offer long-term storage solutions for larger crypto holdings.
Q3. Can I use a hardware wallet with both my iPhone and Mac? Yes, most hardware wallets are compatible with both iPhones and Macs. For iPhones, you’ll typically use Bluetooth connectivity, while Macs can connect via USB. Install the appropriate software on each device and follow the manufacturer’s instructions for setup and use.
Q4. How do I ensure the security of my hardware wallet? To maximize security, purchase your hardware wallet only from official sources, securely store your recovery phrase offline, regularly update the device’s firmware, and use a strong PIN. Never share your recovery phrase, and consider using multiple wallets to separate long-term storage from daily transactions.
Q5. What should I do if I lose my hardware wallet? If you lose your hardware wallet, don’t panic. As long as you have your recovery phrase (seed words) stored securely, you can restore your wallet’s contents on a new device. This is why it’s crucial to keep your recovery phrase safe and never store it digitally.